If you’re here, you’re probably trying to figure out how to get started with the nTop Automate License, and this guide explains how to check for your available license and log into nTop Automate. After reading this tutorial, you should be able to:
1. License Information in nTop User Dashboard
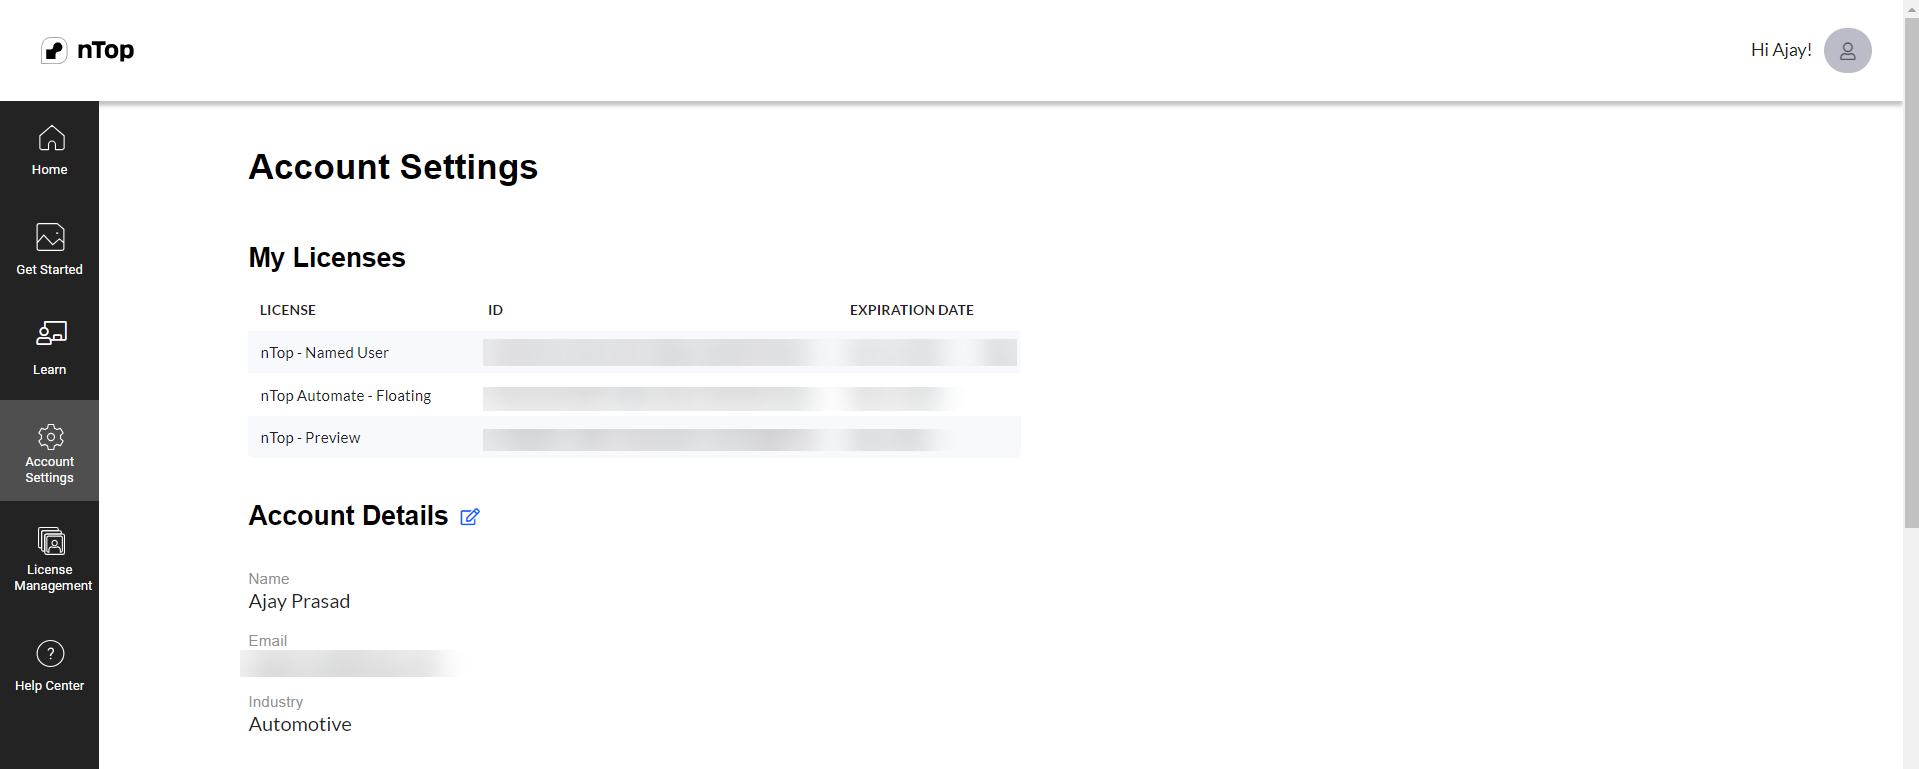
After you have purchased our nTop Automate, you can check the license information from your User Dashboard (app.ntop.com)
- Login to app.ntop.com using your email address and new password.
- You are now logged in to the nTop User Dashboard.
Note: If your link to set up your new account has expired, you can generate a new link by selecting Request. A new email will be sent to your email address.
Navigate to the Account Settings tab to see your available licenses under the My Licenses heading.
2. Logging into nTop Automate
The next step would be to log in to nTop Automate based on the licensing system.
Cloud or Named User License
If you have Named User or Floating licenses on the dashboard, you would have to follow the steps below. In the Command Prompt or Powershell, you should enter ntopcl --license followed by the same cloud credentials you used to log in.
ntopcl --username username@gmail.com --password P@$$W0RDFlexNet Publisher (FNP) Floating License
If your organization has purchased a FlexNet Floating license, you need to enter the server address following --license in Command Prompt or Powershell along with the Server Address similar to the above step, and it should log you in.
ntopcl --license PORT@HOSTNAMEFeel free to reach out to support@ntop.com if you run into any issues while trying to access to login to nTop Automate.