Question:
How do I update a Custom Block that is being used in my Notebook?
Applies to:
- Custom Blocks
Answer:
To update a Custom Block, you need to re-import it into your Notebook. Once you modify the Custom Block and save it:
- You can delete the block from your current Notebook.
- Leave it and let it update automatically when you import the modified block.
You can choose from the following import methods:
- File->Import->Custom Block.
- Open the Imported Blocks folder and select Import Block.
- Save the modified Custom Block in your 'My Blocks' folder.
- When you use this method, you need to open a new instance of nTop to use the updated block.
- You need to re-add the block to your Notebook to use the updated version.
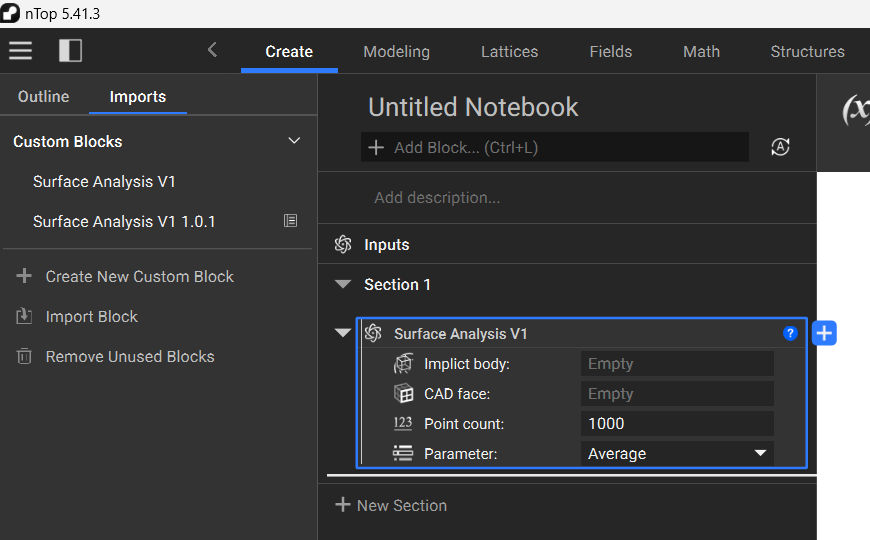
If you change the inputs and use the same Custom Block Notebook name, you will see a popup message notifying you that a custom block has been modified. Indicators in the 'Imports' tab will also clarify which blocks have been affected.
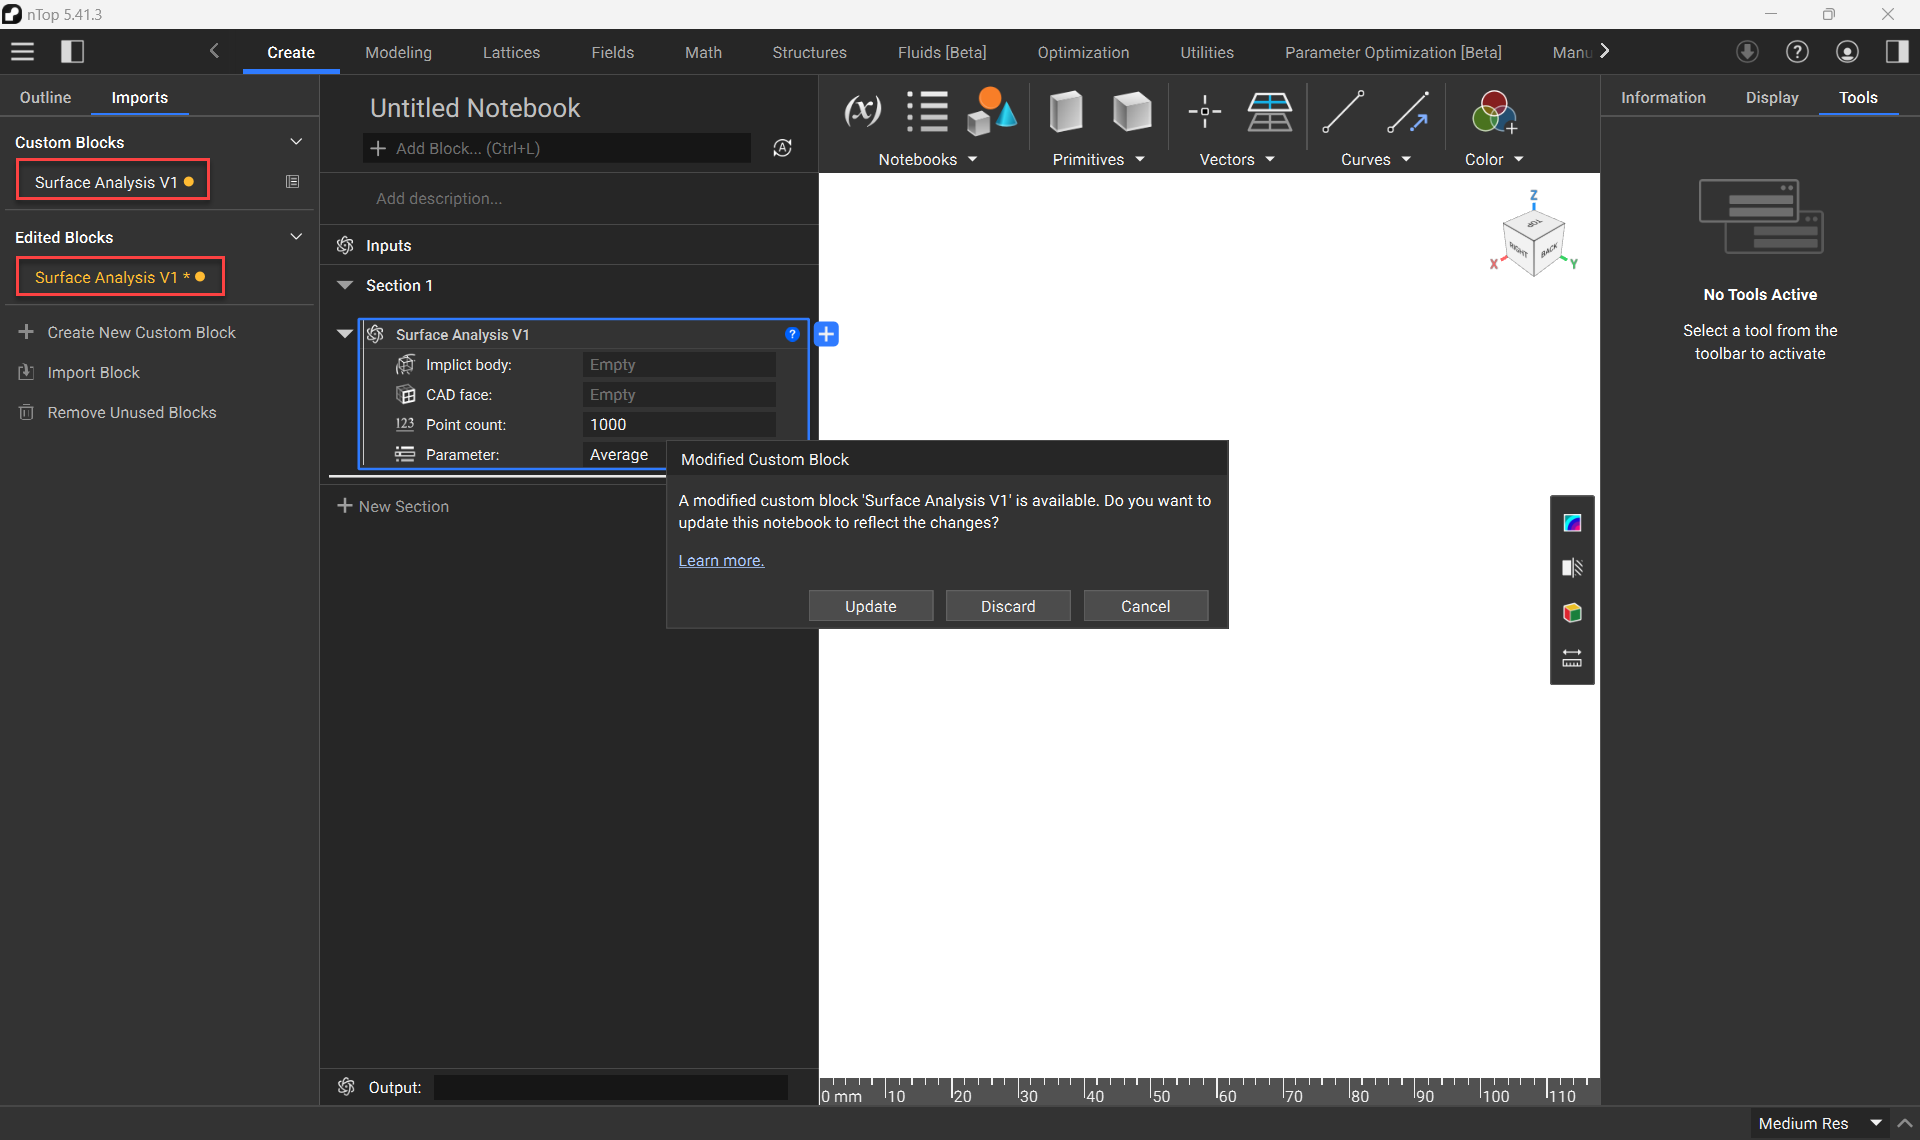
After clicking the Update button, you will notice that the new version is automatically placed into your active notebook. It is also clearly indicated which version of the block you are currently working with.