Objective:
Learn how to warp the cell size of a Cell Map using the Ramp block.
Applies to:
- Lattices
- Cell Maps
Procedure:
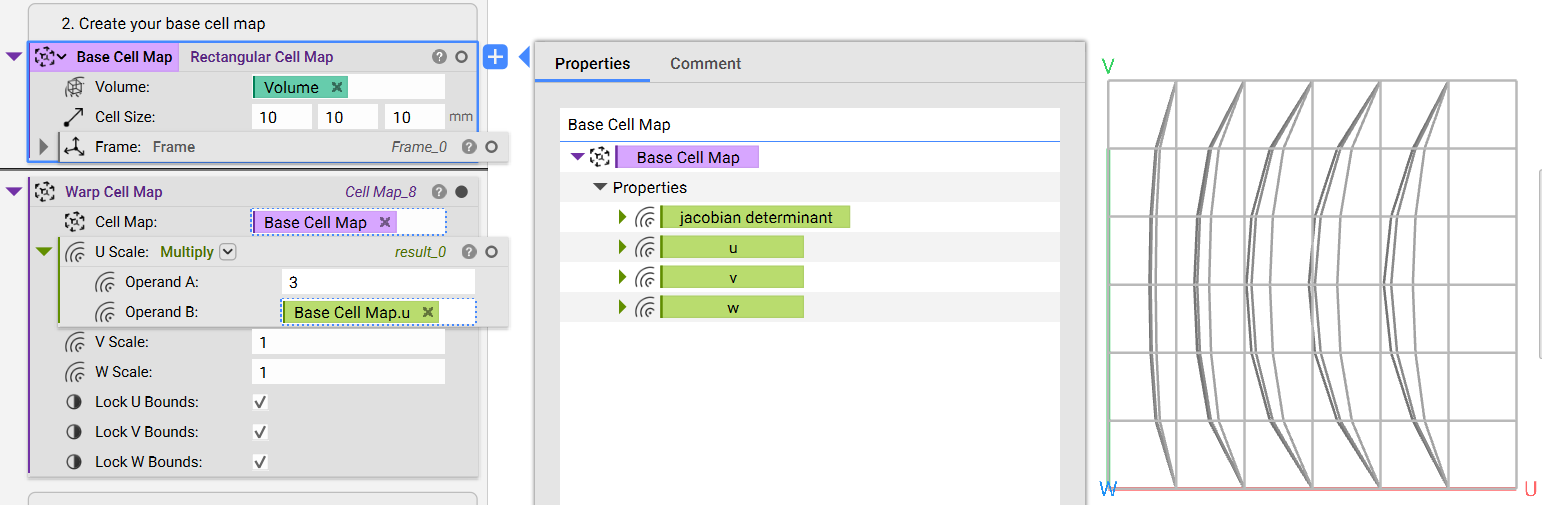
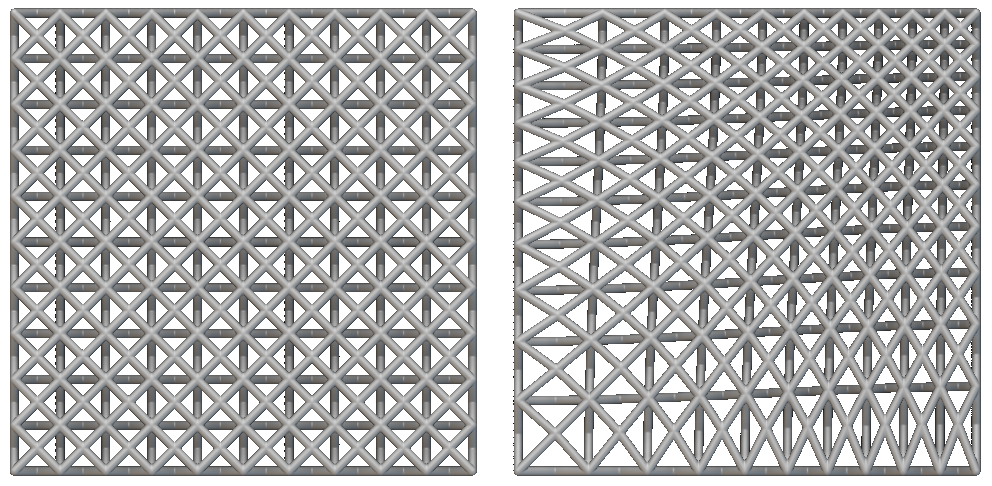
1. Create your base Cell Map: This is the cell map that we are warping.
- Add a Rectangular Cell Map block (in this example, we use the Rectangular Cell Map block, but you can use whichever cell map you prefer)
- Input a Cube to use as the Volume
- Set the Cell size to 10 x 10 x 10

2. Warp your Cell Map
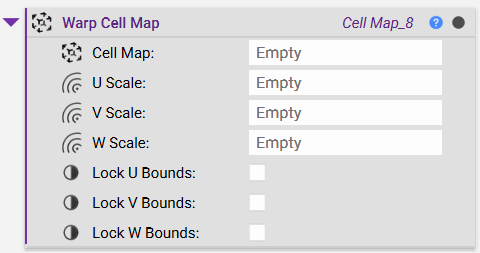
- Add a Warp Cell Map block
- Insert the Base Cell Map from Step 1
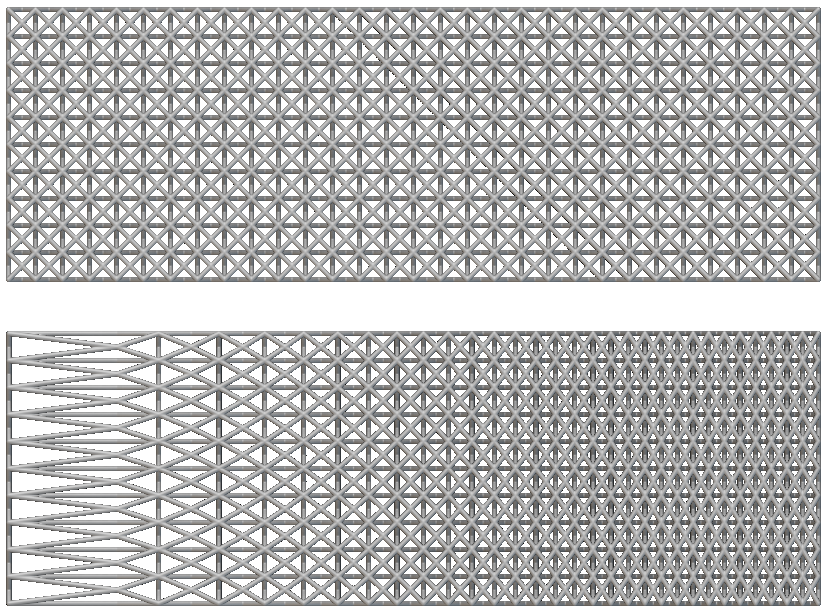
The Warp Cell Map block has scale inputs for U, V, and W, which warp the cells in the cell map.
Since the block prevents out-of-plane warping at the boundaries of the Cell Map, the amount of local stretching and compression that can take place is restricted. This means that local cell size depends on how large the weight field is locally relative to the weight field in the rest of the domain. Hence, there is no direct correlation between the inputs of U, V, and W scale fields and the output cell size.
Positive values stretch out the cells and negative values compress them. To scale the values, you need to use a field.
Some examples of fields that you can use include, but aren't limited to:
- Extracting the U, V, or W fields from the original Cell Map.
- If you use the U, V, or W fields, you need to use that field in the corresponding U, V, or W scale inputs to see results.
- Using a Ramp with any field
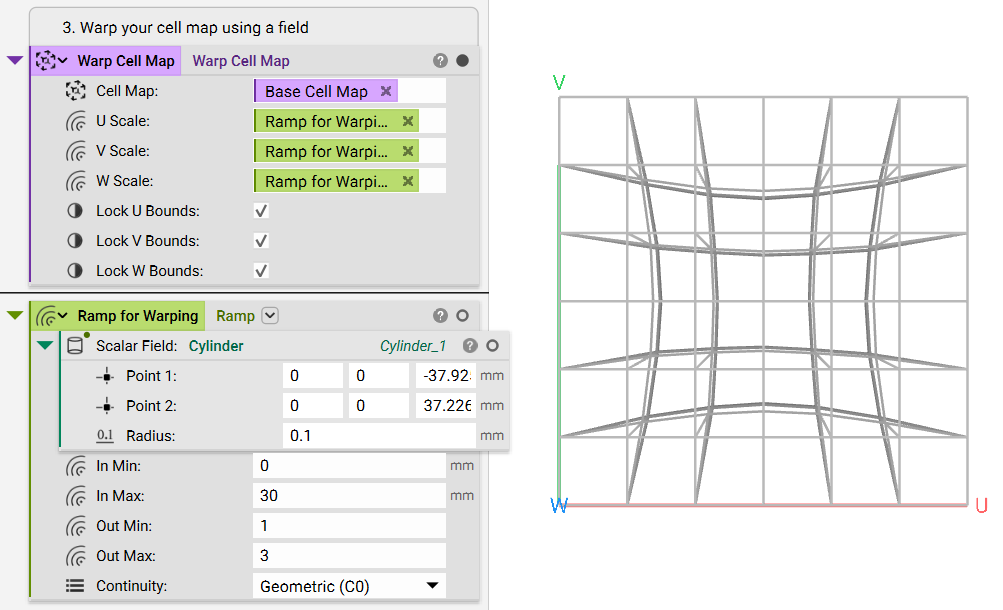
3. Build the Lattice: Build up your lattice now that the cell map is warped and ready to go.
- Add a Periodic Lattice
- Input a Unit Cell block and choose the unit cell you want
- Input your Warp Cell Map block (for this example, we used the Ramped cell map)
- Set the Unit cell parameter 1 to 1mm
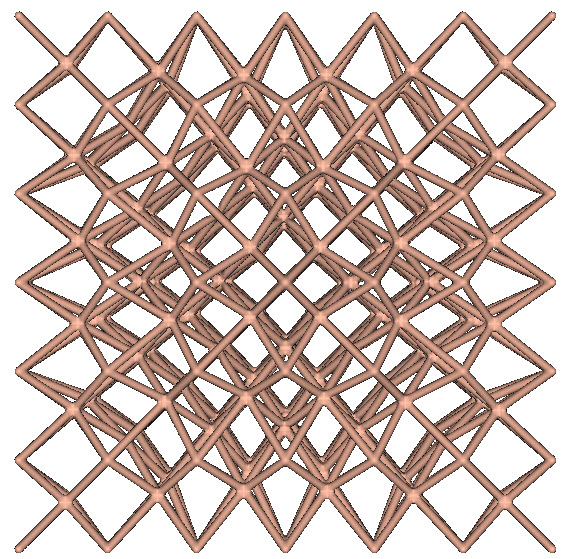
A few more representations are displayed in the example file, a linear warp and a radial warp.
And that’s it! You’ve successfully warped and ramped your Periodic Lattice.
Are you still having issues? Contact the support team, and we’ll be happy to help!