Objective:
Learn how to use the Minimum Height Orientation block to determine an optimal orientation to minimize print duration. This block generates a transformation that minimizes the Z-Height of your object in preparation for manufacturing. If you would like a deeper look into the workflow or would like to follow along through the steps below, you can find the nTop file here: How to use Minimum Height Orientation.

Applies to:
- Additive Manufacturing
Procedure:
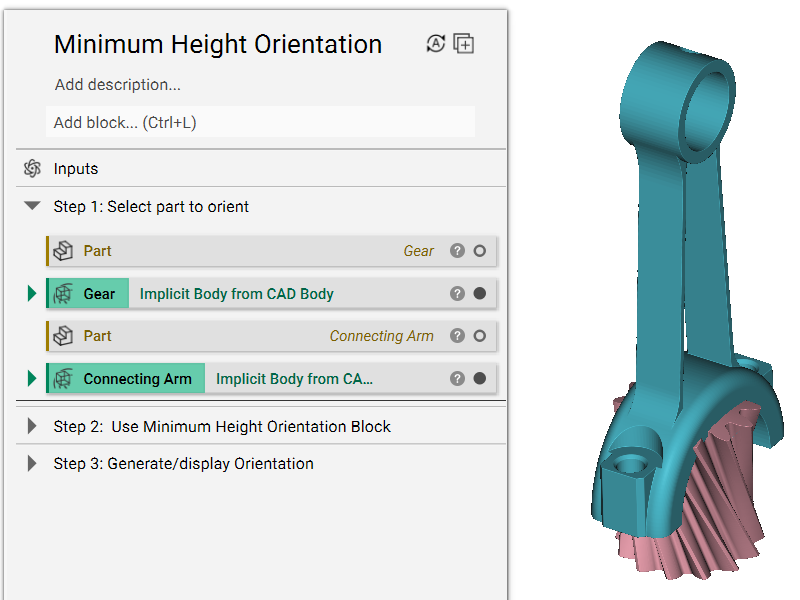
1. Select the body to orient
Two parts are imported below, a gear (red) and a connecting arm (blue).
Tip: The Minimum Height Orientation block only works with Implicit Bodies. If you want to orient a CAD Body, Mesh, etc., make sure to convert it to an Implicit Body first.
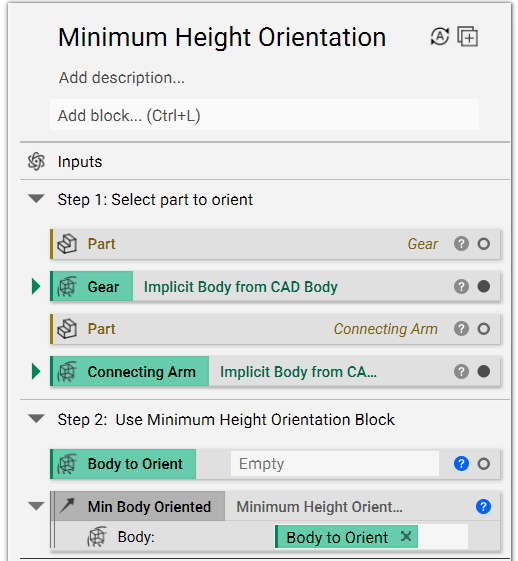
2. Use the Minimum Height Orientation block
Convert the Body input in the Minimum Height Orientation block into a variable. This allows us to interchange the part we want to orient quickly and makes it easier to use that variable in the last step of the workflow.
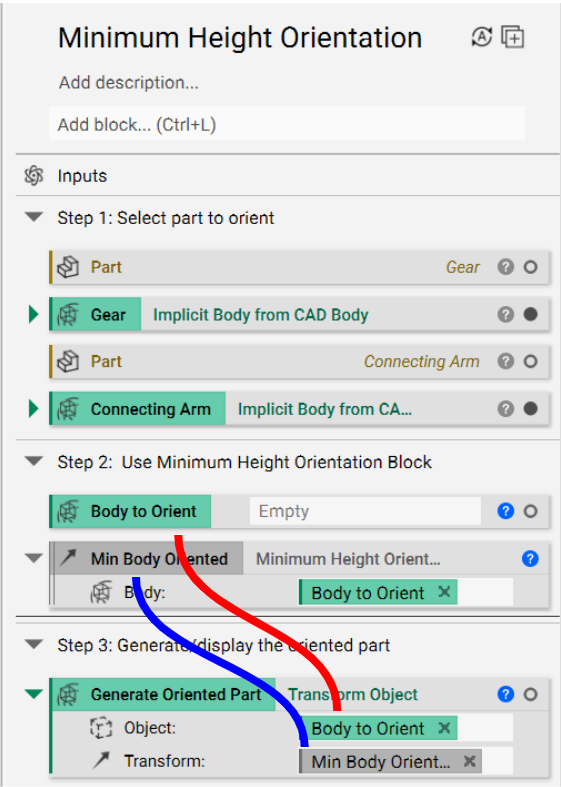
3. Generate/display the oriented part
The output of the Minimum Height Orientation block is a transformation. The last step is to use the Transform Object block to generate the oriented object. Simply drag and drop the Body to Orient variable we created and the Minimum Height Orientation block into the Object and Transform inputs below (indicated by the solid red and blue lines, respectively).
Visualizing the Transformation:
Below is a GIF to help visualize what is happening and the interchangeability of this workflow. The transformed objects are green.
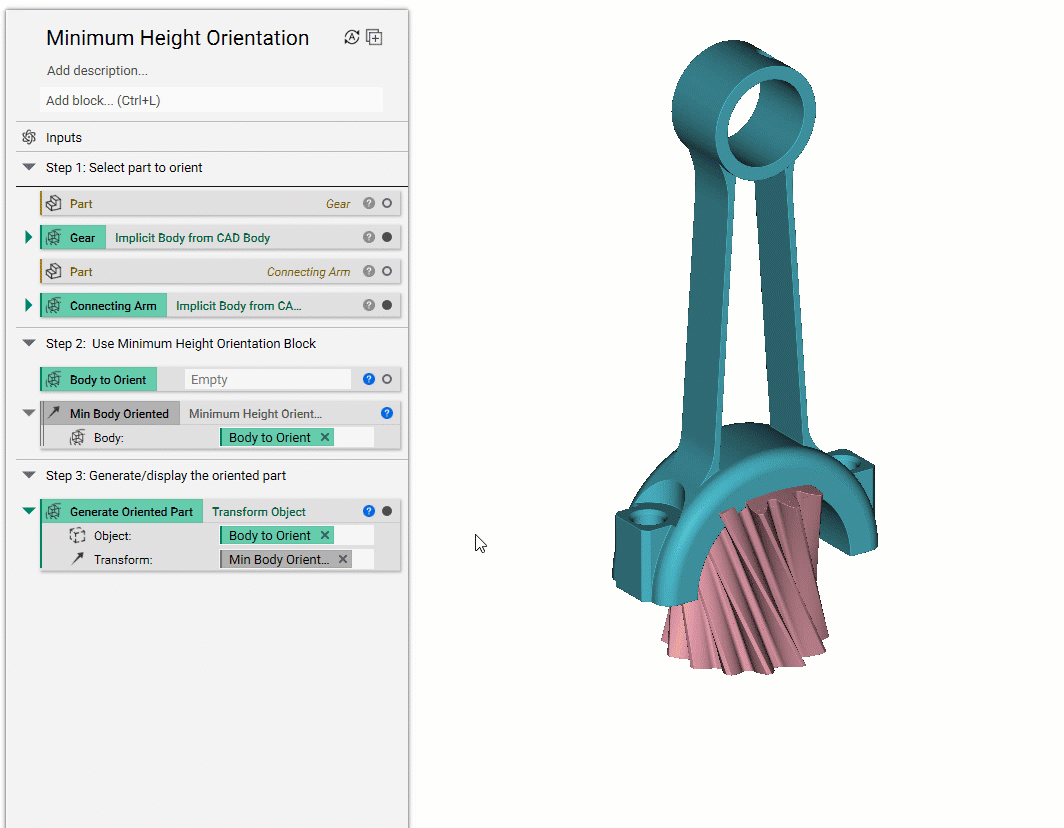
And that’s it! You’ve successfully created a minimum height orientation for further processing.
Are you still having issues? Contact the support team, and we’ll be happy to help!
Download the Example file:
- How to use Minimum Support Orientations
- How to generate bar supports under a part
- How to use Bounding Box 2D Nesting